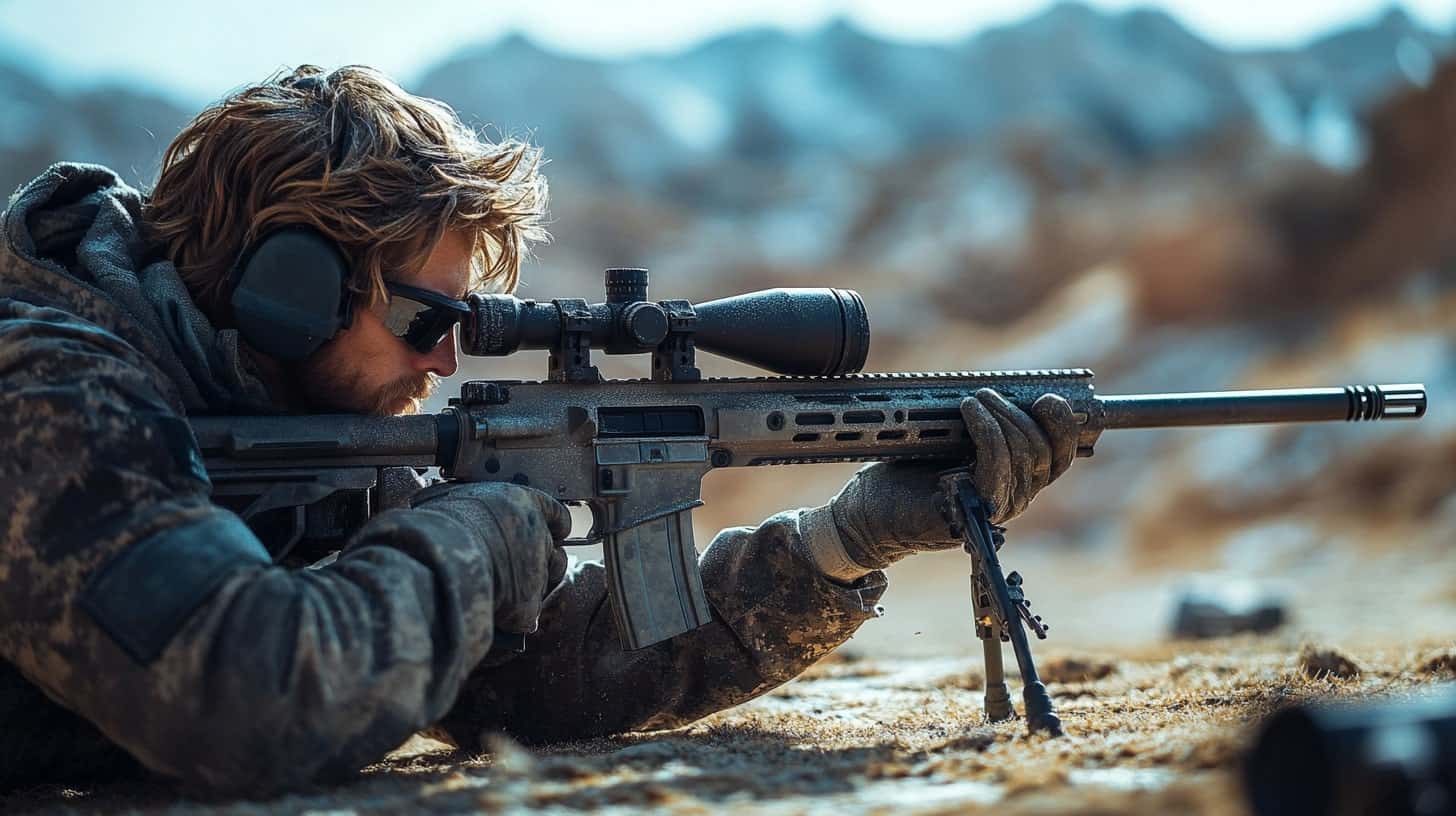
Zeroing a rifle scope is a fundamental skill for any shooter, whether you’re a hunter, competitive shooter, or just a firearms enthusiast. Achieving an accurate zero ensures your shots hit exactly where you aim, improving both precision and confidence. In this comprehensive guide, we’ll cover everything you need to know to zero a rifle scope like a pro, including proper setup, adjustments, and troubleshooting common issues.
What Does It Mean to Zero a Rifle Scope?
Zeroing a rifle scope means aligning the crosshairs with the point of impact at a specific distance. When your rifle is properly zeroed, your bullet should consistently strike where you aim. This process compensates for the trajectory of the bullet, ensuring accuracy.
Essential Equipment for Zeroing a Rifle Scope
Before heading to the range, gather the following essential items:
- Rifle with Mounted Scope: Ensure your scope is securely mounted and properly torqued to avoid shifts during shooting.
- Stable Shooting Rest or Bipod: A steady platform minimizes movement for accurate adjustments.
- Quality Ammunition: Use the same ammo type that you’ll use in real shooting scenarios to ensure consistency.
- Targets with Clear Markings: Grid or bullseye targets help measure adjustments more precisely.
- Bore Sighter (Optional): Speeds up the process by roughly aligning the scope before live firing.
- Tools for Adjustments: Small screwdrivers or an adjustment tool for your scope’s turrets.
- Ear and Eye Protection: Safety first!
Step 1: Secure Your Rifle and Align the Scope
Place your rifle on a stable surface using a bipod, sandbags, or a shooting bench. Check that your scope is mounted level and that the eye relief is properly adjusted for a clear sight picture.
Step 2: Bore Sighting (Optional but Helpful)
If using a bolt-action rifle, remove the bolt and look through the barrel. Align the barrel with the target at 25 yards. Adjust the scope so that the reticle matches the bore’s alignment. For semi-automatic rifles, a laser bore sighter can help accomplish the same task.
Step 3: Fire the First Group of Shots
Load your rifle with three rounds and fire a group at a 25-yard target. This will provide an initial grouping to determine how far off the reticle is from the actual point of impact.
Step 4: Adjust Windage and Elevation
- Elevation (Vertical Adjustment): If shots hit high or low, adjust the elevation turret accordingly.
- Windage (Horizontal Adjustment): If shots are off to the left or right, adjust the windage turret.
- Use the MOA (Minute of Angle) or MIL (Milliradian) markings on the turret to make precise corrections. For instance, if your scope has 1/4 MOA adjustments, each click moves the point of impact 1/4 inch at 100 yards.
Step 5: Move to 100 Yards and Repeat the Process
After making the necessary adjustments at 25 yards, move back to 100 yards and repeat the process. Fire another three-shot group, assess the pattern, and fine-tune as needed. The goal is to have a tight grouping centered on the target.
Step 6: Confirm and Lock Your Zero
Once satisfied with the accuracy, fire multiple groups to confirm consistency. If your scope has a zero reset feature, set it so that adjustments can be easily made in the field. Some scopes also have turret locks to prevent unintentional changes.
Step 7: Account for Environmental Factors
Consider wind conditions, temperature, and altitude when zeroing your rifle. These factors can affect bullet trajectory and point of impact.
Troubleshooting Common Zeroing Issues
- Inconsistent Grouping: This could be due to loose scope mounts, poor shooting posture, or varying ammo quality.
- Scope Doesn’t Hold Zero: Check if the mounting hardware is properly torqued and ensure no mechanical issues with the rifle.
- Extreme Adjustments Needed: If the reticle is far off-center, remount the scope to make sure it is properly aligned.
Final Thoughts
Zeroing your rifle scope is a crucial skill that directly impacts your shooting performance. Taking the time to properly zero your scope ensures precision and reliability, whether for hunting, target shooting, or tactical applications. By following this step-by-step process and troubleshooting potential issues, you’ll be well-equipped to achieve a professional-level zero every time.

